Affiliate Disclosure: We may be compensated if you use our links to make a purchase. We are extremely selective in who we partner with & only recommend products we believe in. Our affiliate relationships do not influence our recommendations.
LearnDash uses a tiered system of courses, lessons & topics to navigate students through your site. Each course is comprised of multiple lessons. Each lesson is comprised of multiple topics. And quizzes can be inserted at any point along the way.
But what if you refer to your courses as “tracks?” Do you use “modules” instead of lessons? Do you ask users to pass a “test” instead of a quiz? I’ll show you how to change the default LearnDash labels from course, lesson, topic & quiz to use your own custom labels. These custom LearnDash labels will then be shown across your entire site, and even in the backend as you’re creating & editing new course material.
Watch our LearnDash custom labels video, or read on for the written tutorial.
The video below is a bit more in-depth but slightly outdated. LearnDash has updated the UI for custom labels since it was published.
How to change LearnDash labels
LearnDash makes it easy to use custom labels.
- Login to your WordPress admin area
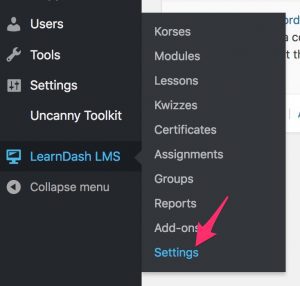
- Navigate to LearnDash LMS > Settings

- Click on the Advanced tab at the top
- Then click Custom Labels
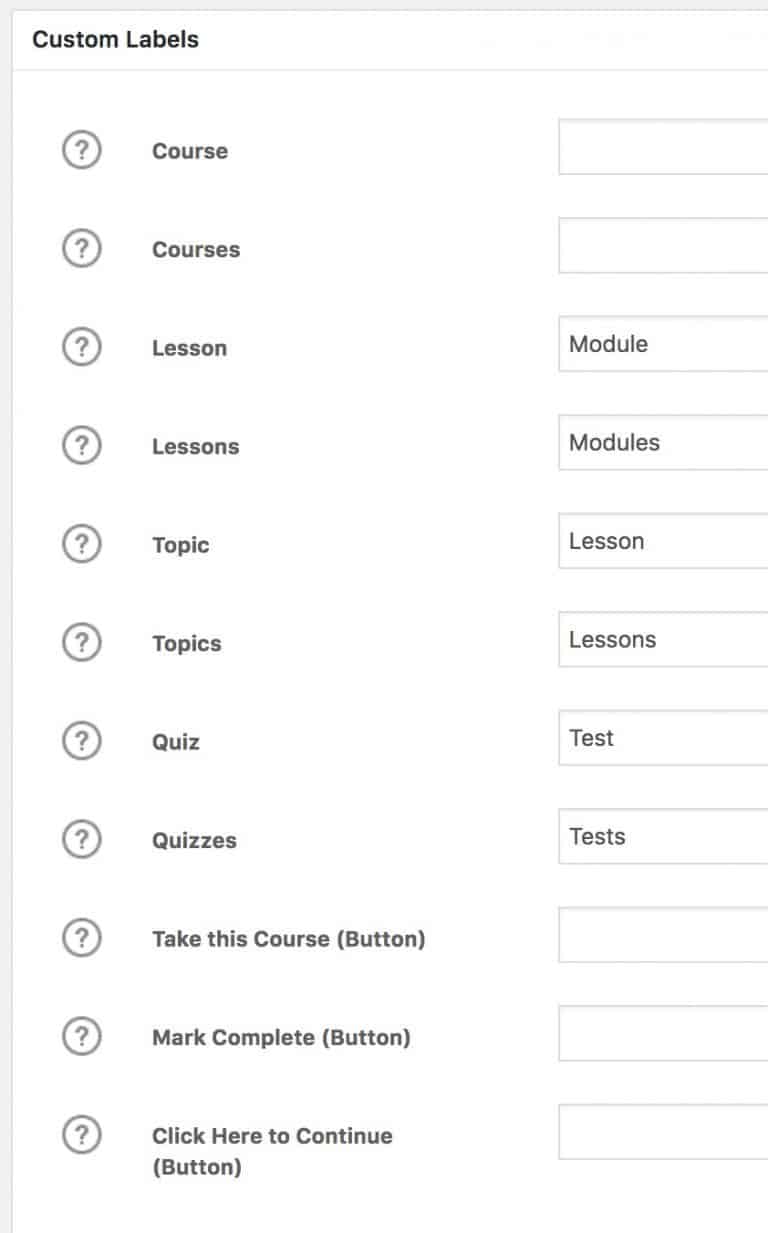
- Type in whatever custom LearnDash labels you want to use. Some common examples include:
- Change LearnDash “Courses” to “Tracks”
- Change LearnDash “Lessons” to “Modules”
- Change LearnDash “Topics” to “Lessons”
- Change LearnDash “Quizzes” to “Tests”

Ultimately, it’s entirely up to you. Choose whatever custom labels make the most sense for your students.
NOTE: Make sure you change both the singular and plural versions of each label.
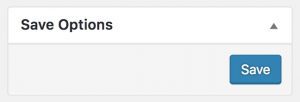
- Make sure you click the Save button in the top-right corner to save your changes

How to change LearnDash button labels
You may have noticed 3 additional label options at the bottom. You can also change the language for a few buttons that LearnDash adds in different places.
- “Take this Course” button: This button is shown on the course page. If you offer free courses, a user can immediately enroll by clicking this button. If payment is required to take a course, this button will direct the student to whichever payment method you have set up.
- “Mark Complete” button: Shown at the bottom of lessons & topics, this button allows the student to mark that material as complete.
- “Click Here to Continue” button: This button is shown after quizzes are taken, and will progress the student to the next piece of content in your course.
Changing the text for these buttons will change it universally, for every single instance of the button across your entire site.
All Available LearnDash Custom Labels
- Course
- Courses
- Lesson
- Lessons
- Topic
- Topics
- Quiz
- Quizzes
- Question
- Questions
- Group
- Groups
- Group Leader
- Challenge Exam
- Challenge Exams
- Take this Course (button)
- Join Group (button)
- Mark Complete (button)
- Mark Incomplete (button)
- Click Here to Continue (button)
- Transaction
- Transactions
What labels are you using for your LearnDash courses? Please share your setup in the comments to help other users form ideas for their LearnDash courses.
Leave a Reply